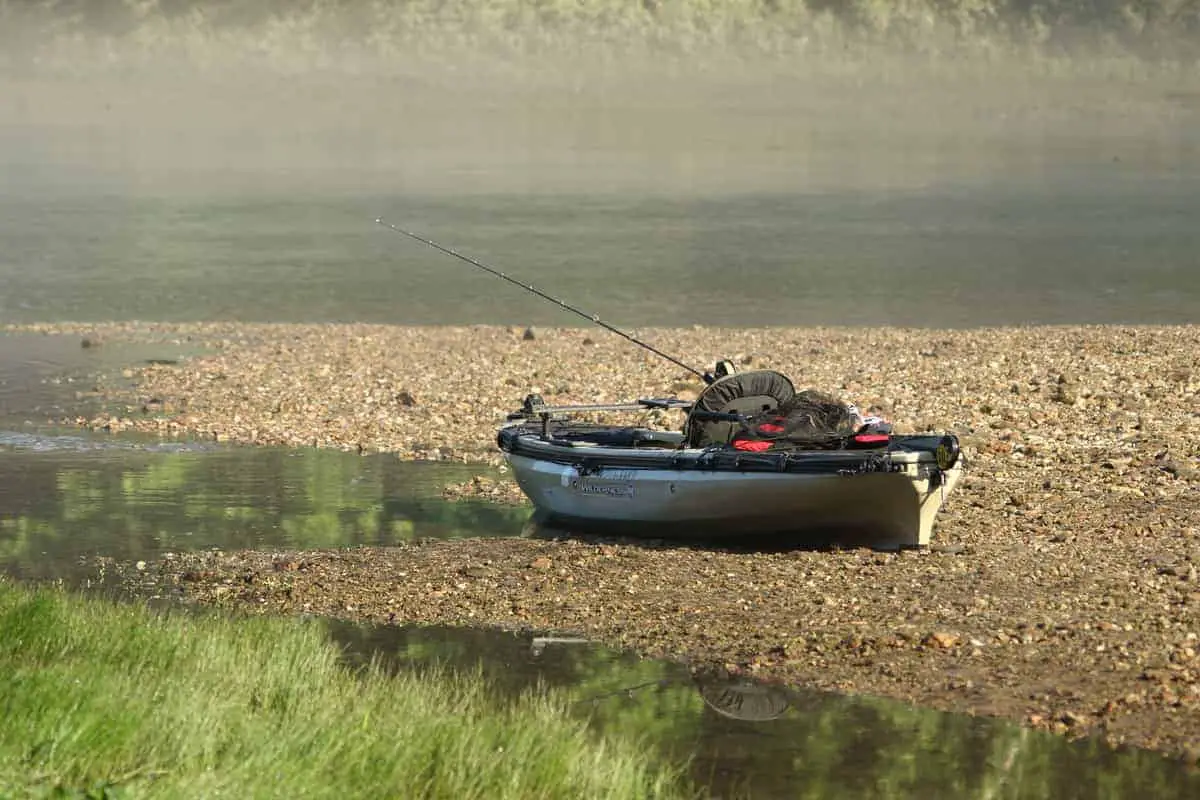
Scratches on your kayak hull increase the effort and energy you expend to paddle or pedal your kayak fishing for the day, plus unsightly scratches make your kayak look bad. Here’s the quickest way to repair scratches on your kayak!
A quick repair for scratches on a polyethylene kayak is to heat the scratched area with a small torch flame or heat gun until slightly softened. Use a spoon or spatula dampened with water or saliva to keep the plastic from sticking to the utensil and gently work the plastic back into the scratch.
Repairing scratches on a kayak hull is a relatively straightforward process, and most outdoorsmen will have the simple tools around the garage to make the repairs. Let’s review the steps below!
Repair and Fix Scratches on Plastic Kayaks – Easy Steps
You’re not going to need much in specialty tools. Just a few items from around the house will get it done.
What You Will Need
- Small heat gun or propane torch
- Bowl of warm, soapy water
- Soft rags
- A large tablespoon or small spatula
- Extra fine sandpaper (1000 grit) or steel wool
- Kayak wax is optional
Gather up the items listed above and have them handy next to you as you begin working on your kayak.
Pro Tip: I’ve found the small, inexpensive heat gun is the perfect size to work with on plastic kayaks. Large heat guns tend to soften too wide of an area and can quickly melt and damage the plastic.

7 Quick Simple Steps to Fix Kayak Scratches
- Using sawhorses or other supports, place your kayak hull side up for easy access and a working area.
- Inspect and note all the scratches you’ll be working on, and check the top. (You’ll often find more scratches and gouges as you begin to repair them!)
- Thoroughly wash and dry your kayak in the areas you’ll be working on with warm soapy water. Remove the dirt and grime from the scratches and gouges.
If you have accessories and hardware in the way, go ahead and remove them to access these areas better. - Using a small heat gun and a sweeping motion, slowly heat the scratch and the area around it.
Heat the location evenly and keep the gun moving, so the hull area doesn’t become overly hot and deform the plastic. (If the area becomes “glossy”, it is getting too hot.) - With the large tablespoon or small spatula, as the plastic begins to soften enough to work with, begin to gently work the lips of plastic from around the scratched areas back into place.
Dampening the spoon with a little bit of water or saliva will keep the plastic from adhering to the spoon and make the repair easier. - If you have any rough areas or small pieces of plastic sticking up, use fine-grit sandpaper or steel wool to smooth them down.
- Replace any accessories or hardware you removed to repair your scratches.
- (Optional) Waxing your kayak is certainly optional (I have never waxed mine yet), but it can provide protection from the sun and the UV rays from fading your kayak’s colors!
Repairs for a Gouge or Deep Scratch
You’ll usually need a little plastic to fill in the deeper gashes. Sometimes there will be loose plastic inside your kayak from the molding process.
If you drill into your kayak, save the plastic shavings for repairing scratches.
If you don’t have plastic available from your kayak, you can use a small piece from a 5-gallon bucket or even a plastic milk jug in a pinch.
My preference is to use a plastic welding kit for these repairs. I’ve used the Massca Plastic Welding Kit with Plastic Rods and Reinforcing Mesh below from Amazon with great results!
Massca Plastic Welding Kit
Got a few scratches or cracks on your fishing kayak? The Massca Plastic Welding Kit is perfect for making quick, durable repairs to keep your kayak water-ready and looking like new.
Whichever option you choose, heat the plastic until it becomes malleable enough to backfill the gouges. If you use your own plastic from buckets or jugs, cut it small enough to soften thoroughly.
Once the plastic pieces are soft, mold and press them into place. Be sure that the area is cleaned adequately! Use a 92% or better alcohol swipe to remove any grease or oils from the gouge.
After the plastic fills the gouge, use the heat gun to soften the repair further, and rub the repaired gouge with the spoon until it is adequately smooth.
Can You Sand a Kayak
A kayak can be sanded lightly, although you need to be aware of sanding too deeply. Sanding a kayak can repair very light damage to your kayak’s hull caused by dragging it across rough surfaces.
How to Buff Out Scratches on a Kayak
Using fine-grit sandpaper, lightly sand the area to fix scratches by blending the scarred area back into the hull. Sand lightly and not deep enough to damage the kayak further. Finish the repair with the heat gun and smooth down the area with a dampened back of a spoon.
Final Thoughts
I don’t become too concerned over the lighter scuffs my hull takes when shallow water fishing. Deeper gouges can affect how kayaks handle and progressively worsen if not repaired.
I usually fix the deeper ones with the plastic welding kit around mid-season and maybe again when I store the yak away for the winter.
The lighter ones are easy to deal with using the steps outlined above!
Have fun and stay safe out there!

